Welcome to our screen installation guides archive, your trusted resource for installing Zip Roll screens with precision and ease. Our comprehensive guides offer step-by-step instructions tailored to your specific screen type, ensuring a seamless setup process. Whether you’re installing retractable screens, fixed screens, or commercial solutions, we’ve got you covered.
Browse the guides below to find the one that fits your needs and start enjoying the benefits of expertly installed screens.
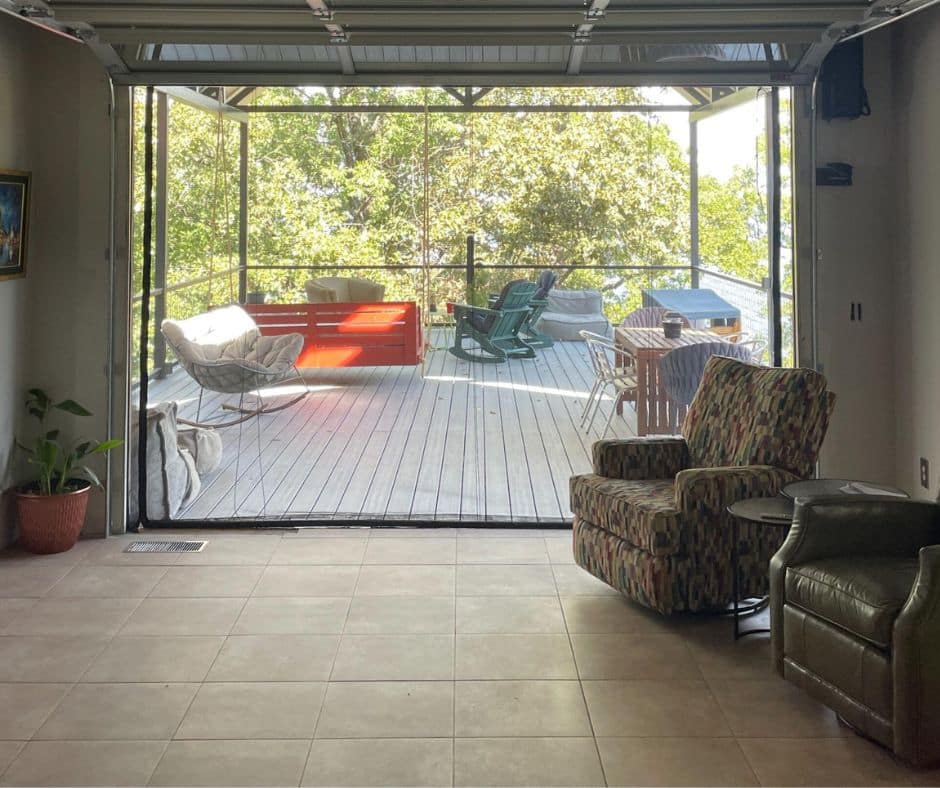
Retractable Screen with Aluminum Frame
Looking for detailed instructions on installing a retractable screen with an aluminum frame? This guide provides a clear walkthrough, covering everything from preparation to final setup.
Install your retractable screen with a PVC vinyl frame effortlessly using this step-by-step guide. From tools needed to tips for a professional finish, it’s all here.
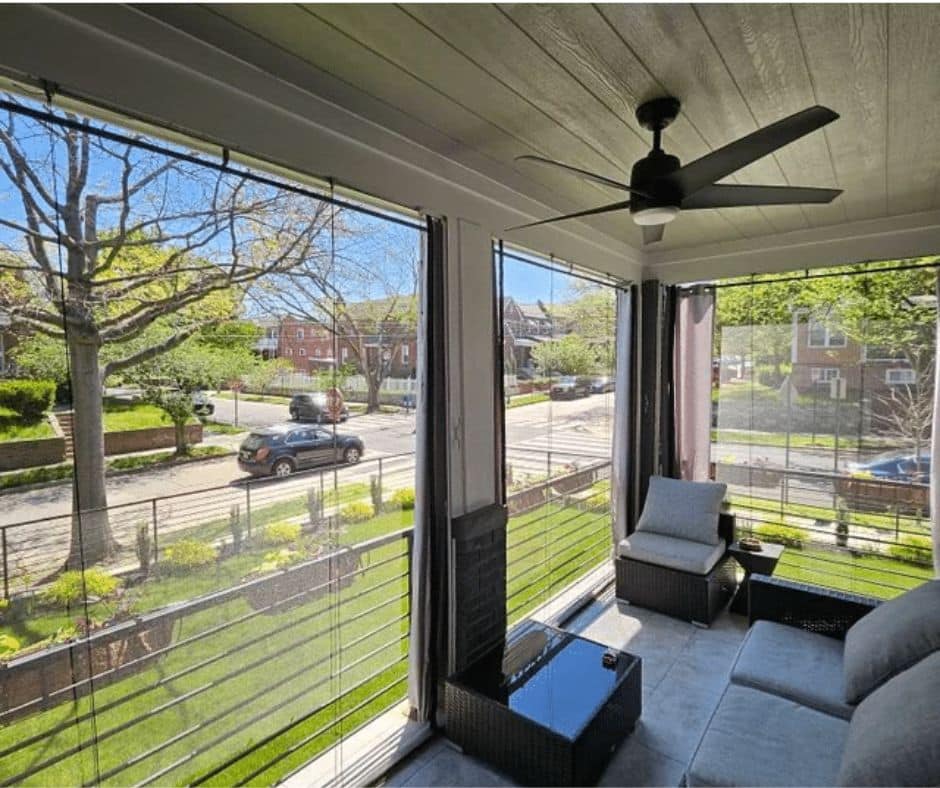
For permanent screen solutions, follow this detailed guide to install a fixed screen (non-retractable). Learn the best practices for ensuring a secure and lasting fit for your screen.
Set up your commercial screens with confidence using this comprehensive guide. Designed to handle high-traffic spaces, our step-by-step instructions make installation quick and straightforward.